How to Set Up a Separate Chrome Profile for Forensic OSINT
Why Use a Separate Chrome Profile?
Using a dedicated Chrome profile for Forensic OSINT helps ensure optimal performance and legal defensibility by preventing interference from other extensions.
Follow these steps to create a new Chrome profile for exclusive use with Forensic OSINT.
Step 1: Open Chrome Profile Settings
- Open Google Chrome.
- Click on your profile icon in the top-right corner.
- Select Manage profiles.
- Click Add to create a new profile.

Step 2: Create a New Profile
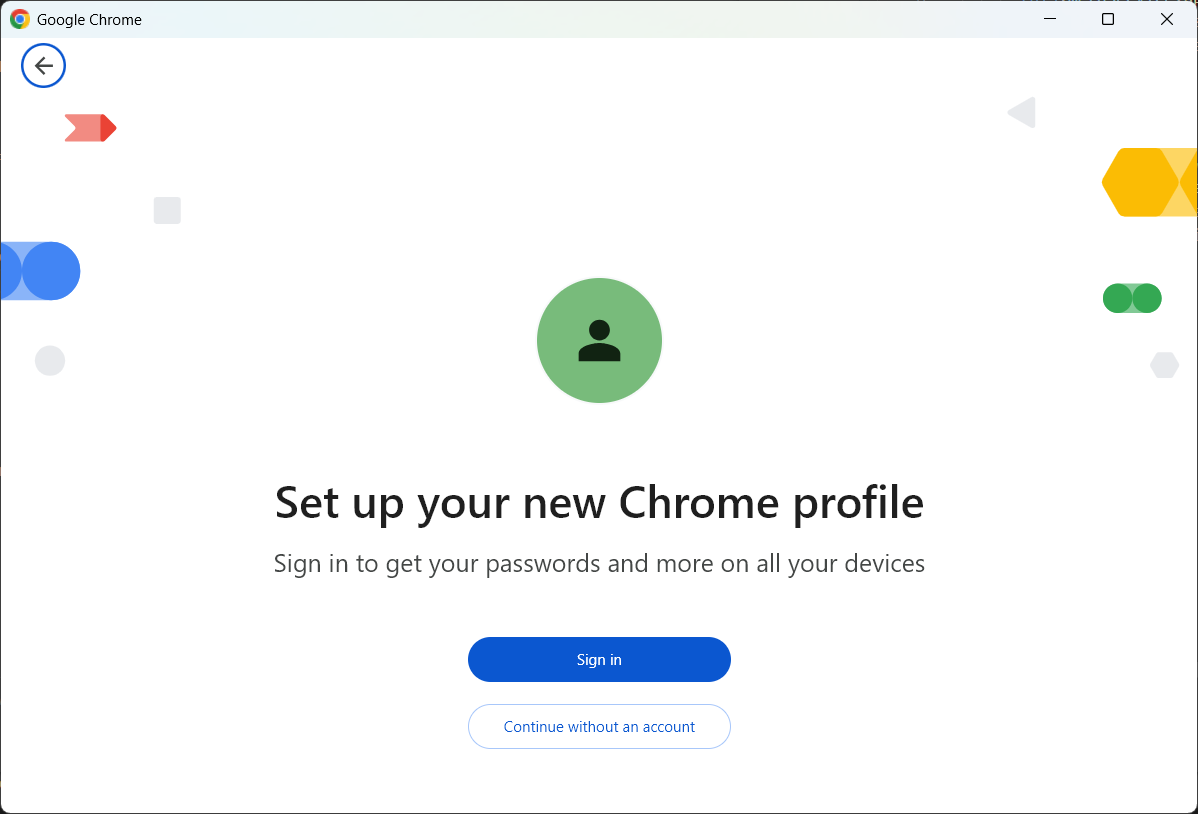
- Click Continue without an account (if you don’t want to sync with a Google account).
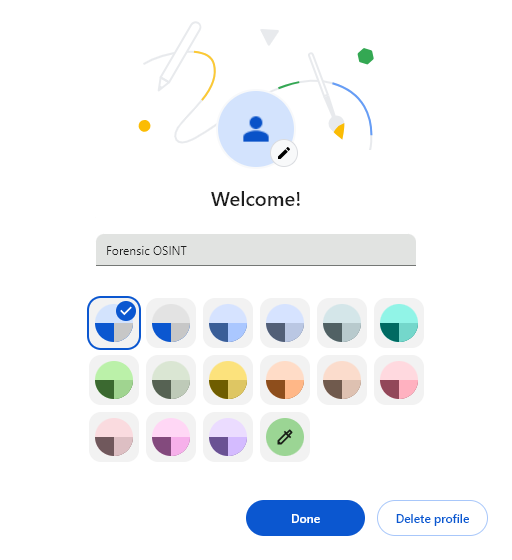
- Enter a name, such as Forensic OSINT.

- Choose an icon and click Done.
Step 3: Install Forensic OSINT Only
- Open the new Chrome profile.
- Go to the Chrome Web Store.
- Search for Forensic OSINT and click Add to Chrome.
- Do not install any other extensions to keep the profile clean.
Step 4: Switch Between Profiles
- Click your profile icon in the top-right corner.
- Select the Forensic OSINT profile when conducting investigations.
This setup ensures better performance and stronger legal defensibility for your OSINT captures.
Next Steps
Now that you have your dedicated Chrome profile set up, simply switch to this profile whenever you need to make captures. This will ensure optimal performance and maintain the integrity of your evidence.
For a deeper understanding of why this setup is crucial, check out our detailed article:
➔ Read: Why You Should Use a Dedicated Chrome Profile for Forensic OSINT.

Minimum Requirements:
- 8 Characters
- 1 Upper
- 1 Lower
- 1 Digit

